The 5 photos to take on every project
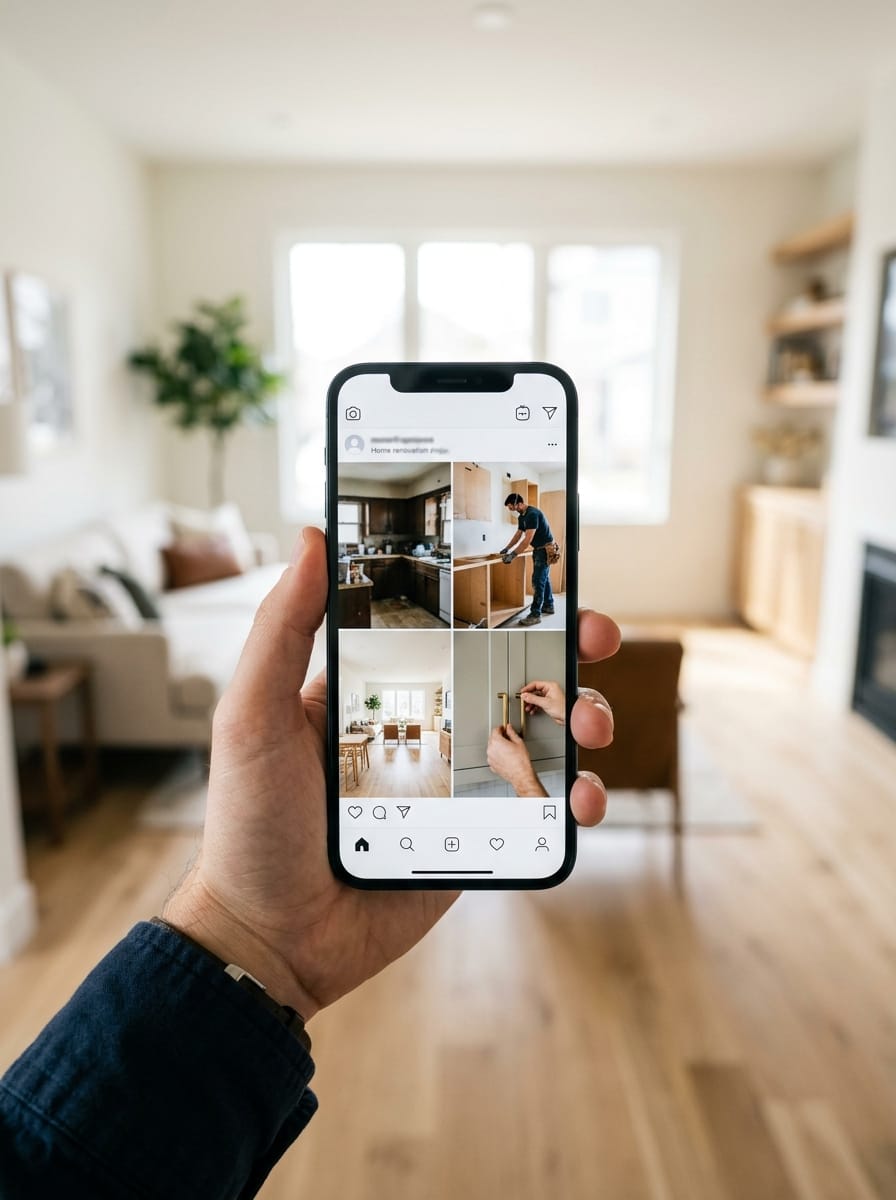
You do not need to create a full photo report. These five images are enough for an Instagram carousel, Facebook post or short before-and-after video.
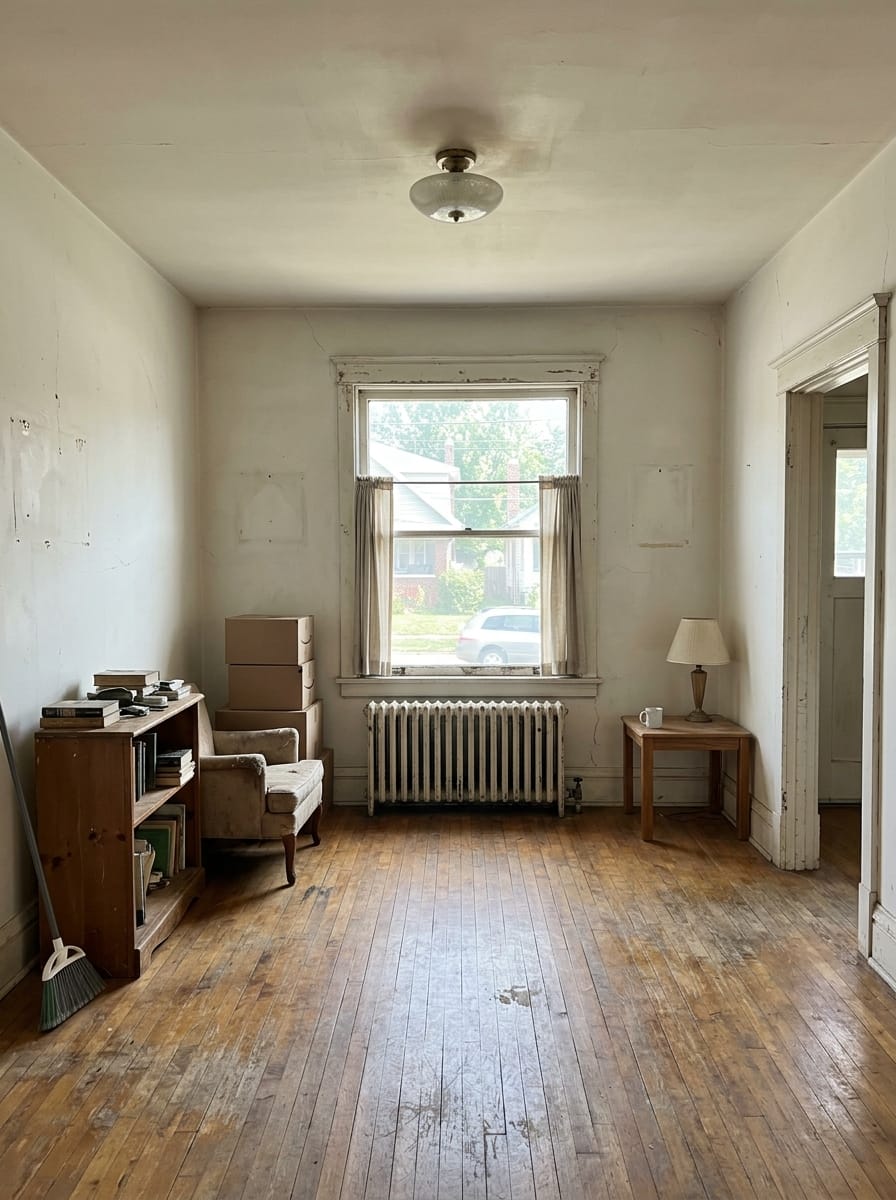
1. The before photo: show the starting point
Take the first photo before moving furniture, protecting surfaces or beginning the work. It should clearly show the original condition.
Choose a wide angle
Stand far enough away to show the room, wall, façade or full area being transformed.
Step back until both sides of the area are visible.
Keep the phone straight
Avoid tilted lines and heavily distorted perspectives.
Turn on your phone’s grid to align walls, doors and vertical lines.
Mark your position
Remember where you were standing so you can take the final photo from the same angle.
Photograph your feet or a floor marker so you can find the same position later.
Do not try to improve the scene
The before photo should remain honest. Its purpose is to make the transformation understandable.
This was the starting point before we began the renovation.
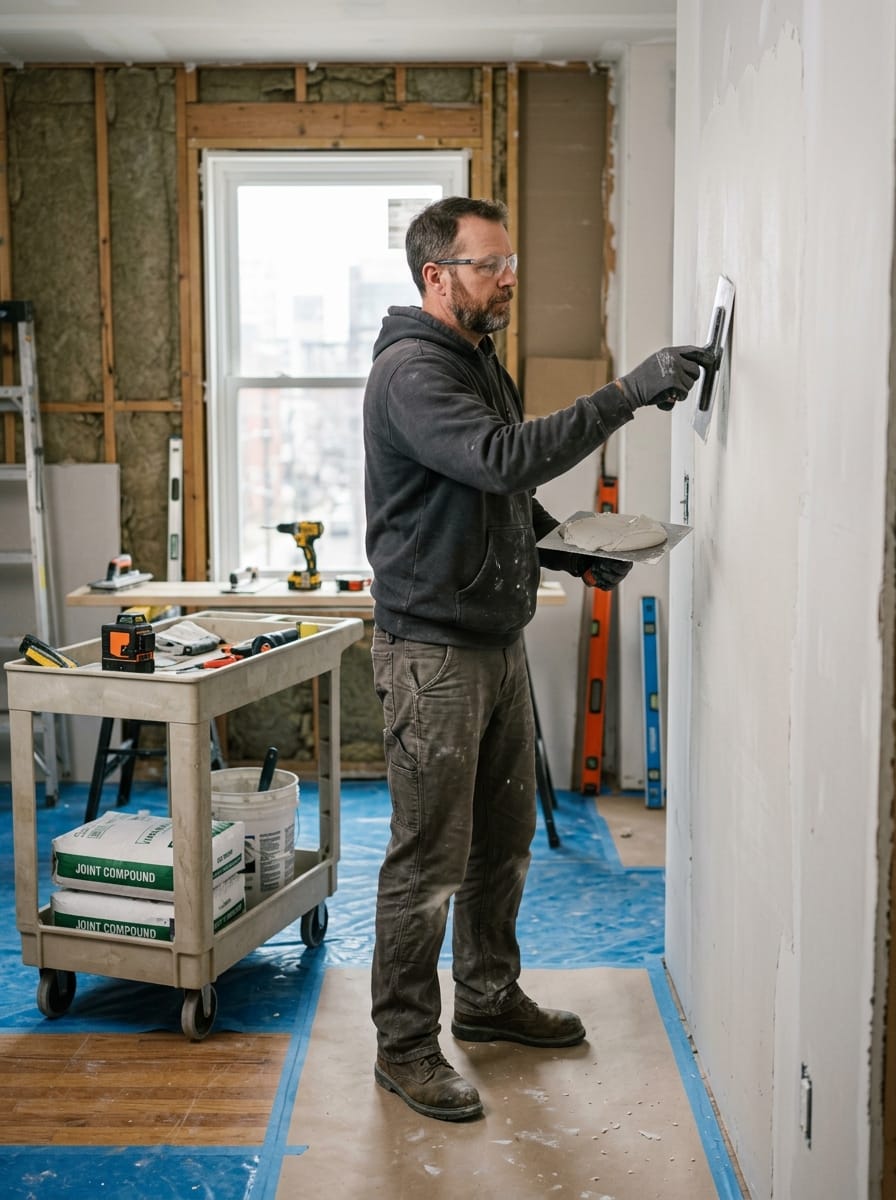
2. The progress photo: show the work customers cannot see
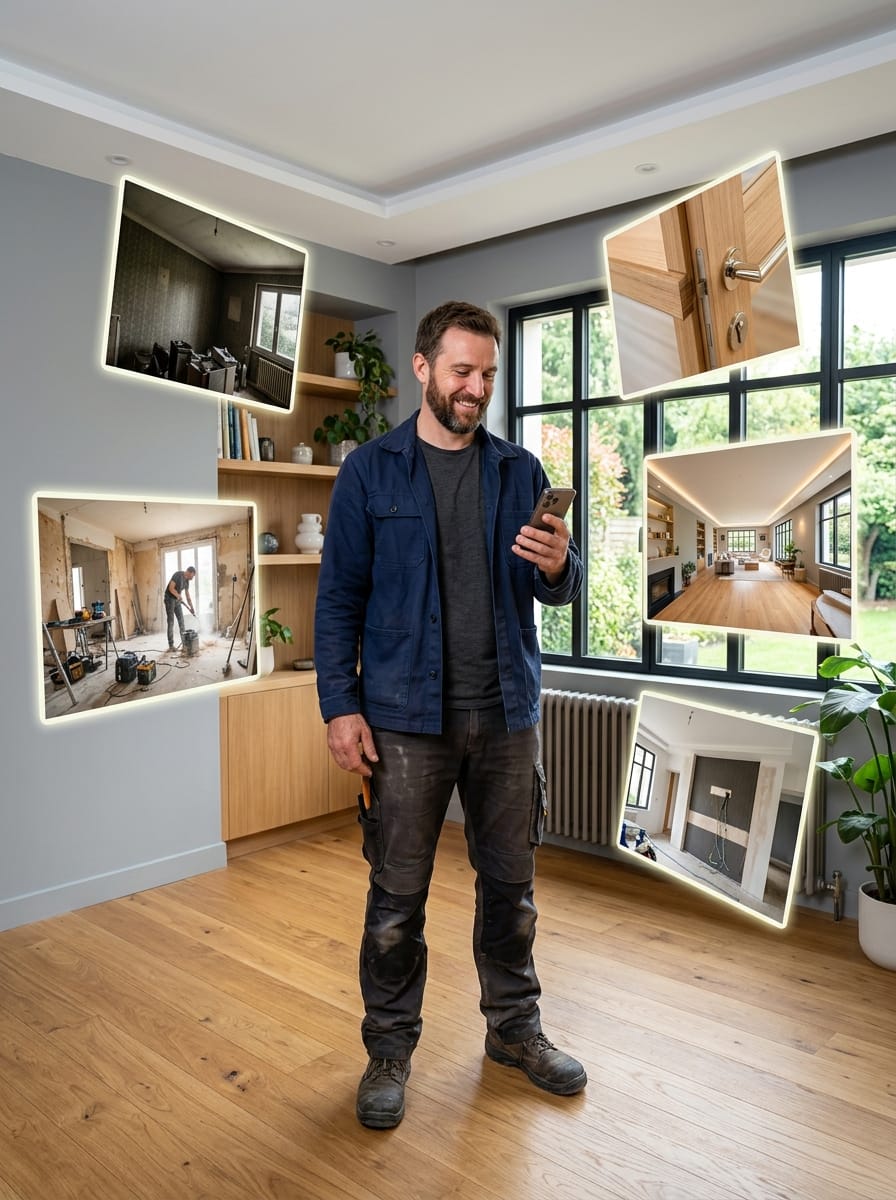
A photo taken during the work helps customers understand that a strong final result depends on several stages, from preparation through to finishing.
Preparing the surface
Stripping, sanding, protection, demolition or cleaning: show the work that supports the final result.
Before the finishing stage, every surface is carefully prepared to create a durable result.
A skilled trade technique
Photograph installation, cutting, plastering, wiring or the precise adjustment of an element.
Precision matters at every stage, long before the final photo is taken.
Project progress
A mid-project image helps tell the story of the transformation naturally.
The project is taking shape as the new layout and finishes begin to appear.
A challenge you solved
Show a technical constraint and explain simply how you handled it.
This uneven wall required specific preparation before the new finish could be installed.
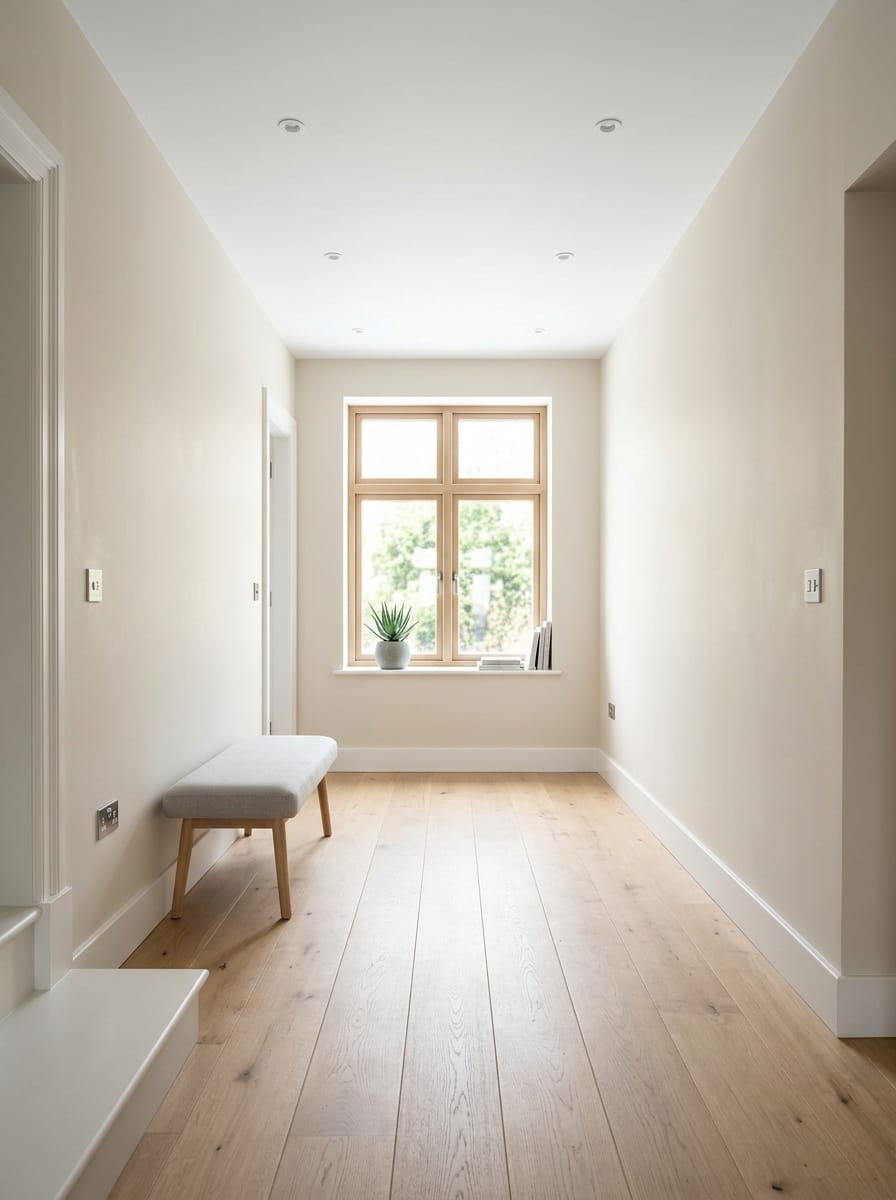
3. The after photo: make the transformation obvious
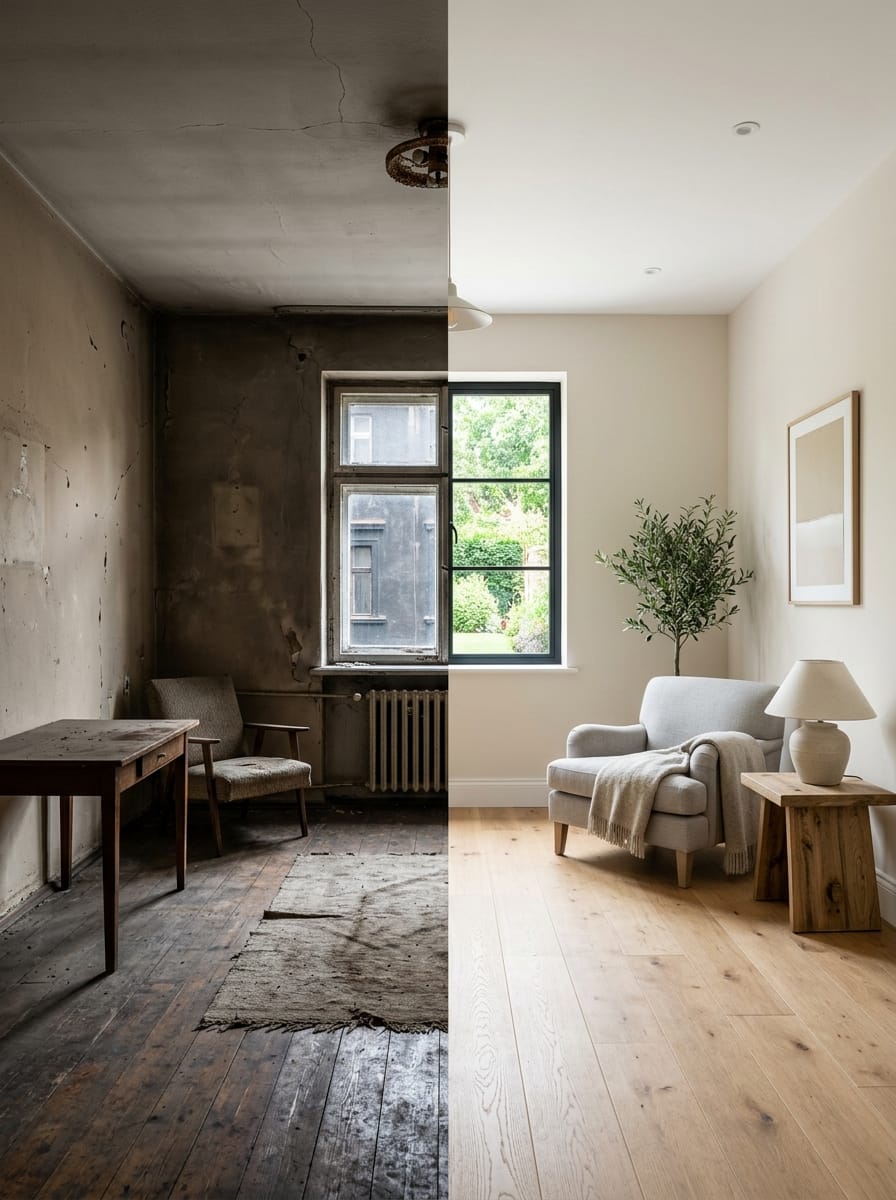
The final photo should match the framing of the before photo as closely as possible. This is what makes the difference immediately understandable.
Use the same angle
The comparison works best when the height, distance and orientation remain similar.
Open the original photo on your phone to recreate the same framing.
Clear the frame
Remove tools, packaging, protective sheets and waste before taking the photo.
The project should look finished, not simply paused for a picture.
Make the most of the light
Open blinds and switch on lights when necessary, without overexposing the windows.
Final result: a brighter, more modern room that is ready to use.
Show a realistic result
Avoid strong filters that change the true colours of the materials.
Customers should be able to recognise the real tones and quality of the finishes.
Five photos can be enough to create several posts.
Before, during, after, detail and overall view: Publiau can turn these images into a carousel, short video or professional social media post. You keep working on your projects while we prepare the ready-to-post content.
Get a free piece of content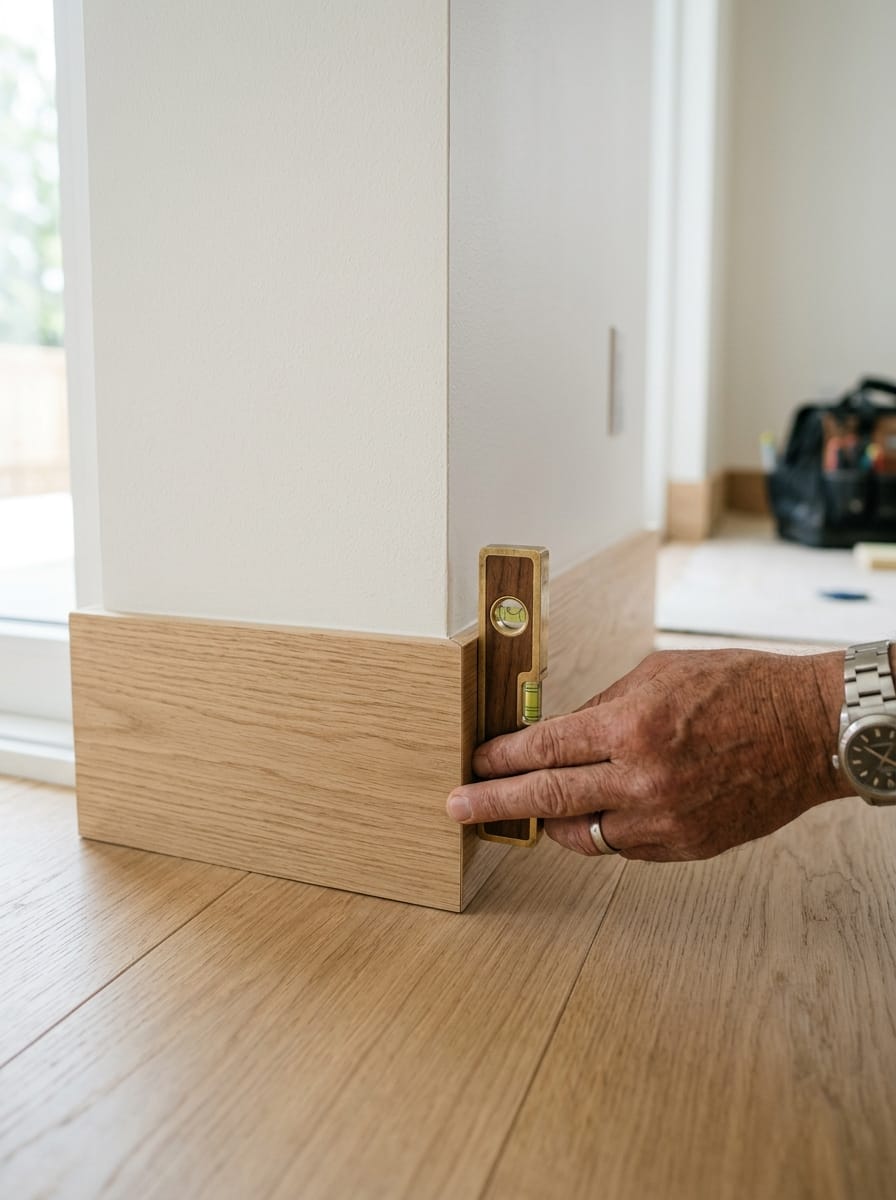
4. Finishing details: prove the quality of your work
The wide view shows the transformation. Close-ups show the precision of your work: joins, grouting, corners, cuts, alignment and clean finishes.
A join or corner
Show the precision of a junction, skirting board, tile or trim profile.
Small details are what make the result look truly complete.
The texture of the material
Wood, stone, plaster, paint or metal: move closer so viewers can see the finish.
A close-up view of the texture and finish selected for this project.
A custom-made feature
Highlight a precise cut, custom cabinet, recess or special adaptation.
A bespoke finish created to fit the existing space perfectly.
The final quality check
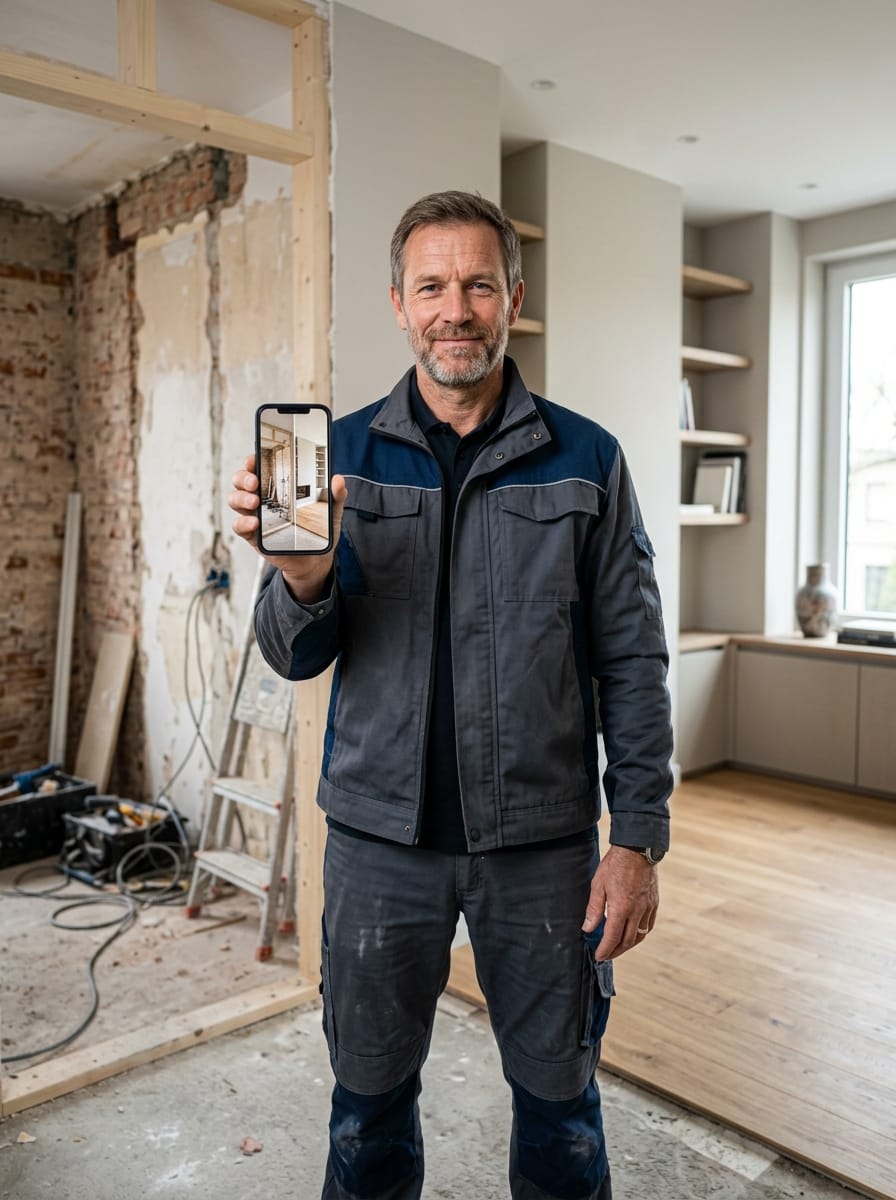
Photograph the tradesperson checking alignment, level or the final result.
Before handover, every detail receives one final inspection.
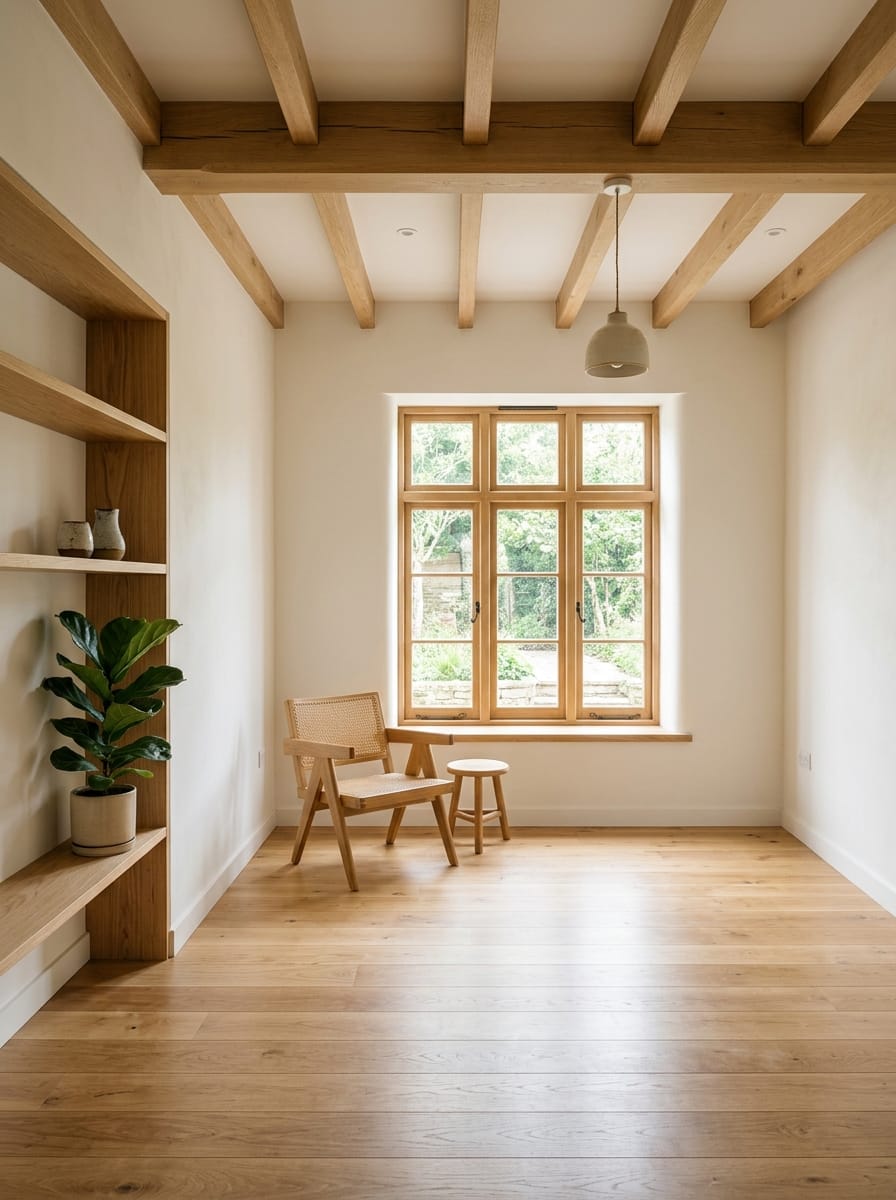
5. The overall view: help customers imagine the result
Finish the series with a wider photo showing how the different elements work together in the space. This is often the most inspiring image.
Show the entire room
Use framing that is wide enough to understand the layout and proportions.
A full view of the completed project to show the new space clearly.
Add a few lived-in details
A plant, chair or light fitting can help people imagine the space without hiding your work.
Keep it simple: the completed work should remain the main subject.
Take both horizontal and vertical photos
Vertical works better for Reels, while horizontal images may be useful for your website or Facebook.
Take both formats while the site is still perfectly tidy.
Ask the customer for permission
Confirm that publication is allowed and avoid showing an address, face or personal item without consent.
A simple permission request protects both the customer relationship and your business.